LUMIN L2
LUMIN L2 SSD Installation
LUMIN L2 can be supplied with or without SSD drives pre-installed.
They can be installed or replaced at any time without a requirement to include any system files on the disks. Disks should be installed in identical pairs.
The specification is:
- 2.5” SATA III SSD
- Single partition only
- Identical pair
Please don’t undertake this task if you are not comfortable working on the internals of audio equipment or computers. If in doubt, contact your local LUMIN dealer for help.
![]() Warning: Risk of Electric Shock. Do not remove the cover to the LUMIN Switching Power Supply (SPS) under any circumstance. There are no user-serviceable parts inside. Request a qualified service person to perform servicing.
Warning: Risk of Electric Shock. Do not remove the cover to the LUMIN Switching Power Supply (SPS) under any circumstance. There are no user-serviceable parts inside. Request a qualified service person to perform servicing.
Ensure power and all other cables are disconnected from the rear of LUMIN L2
Use the included Torx T10H screwdriver to remove the 3 bolts on the rear of LUMIN L2.
(We recommend using a parts tray to store all screws and prevent any small parts being lost.)

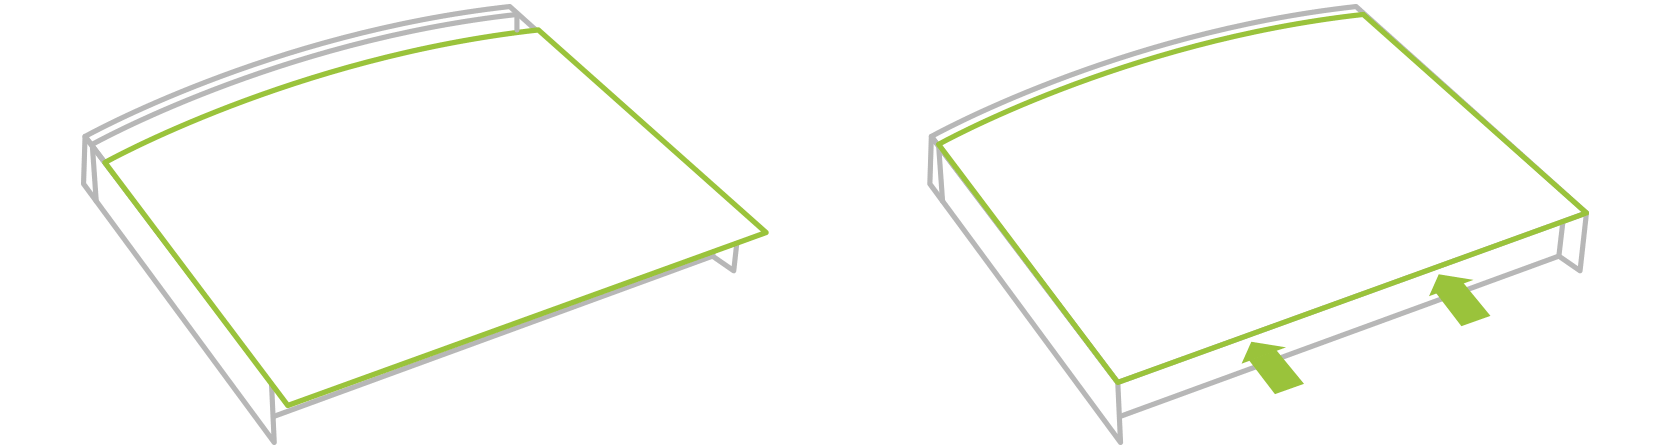
Slide the top panel rearwards until it unhooks from the front of the chassis.
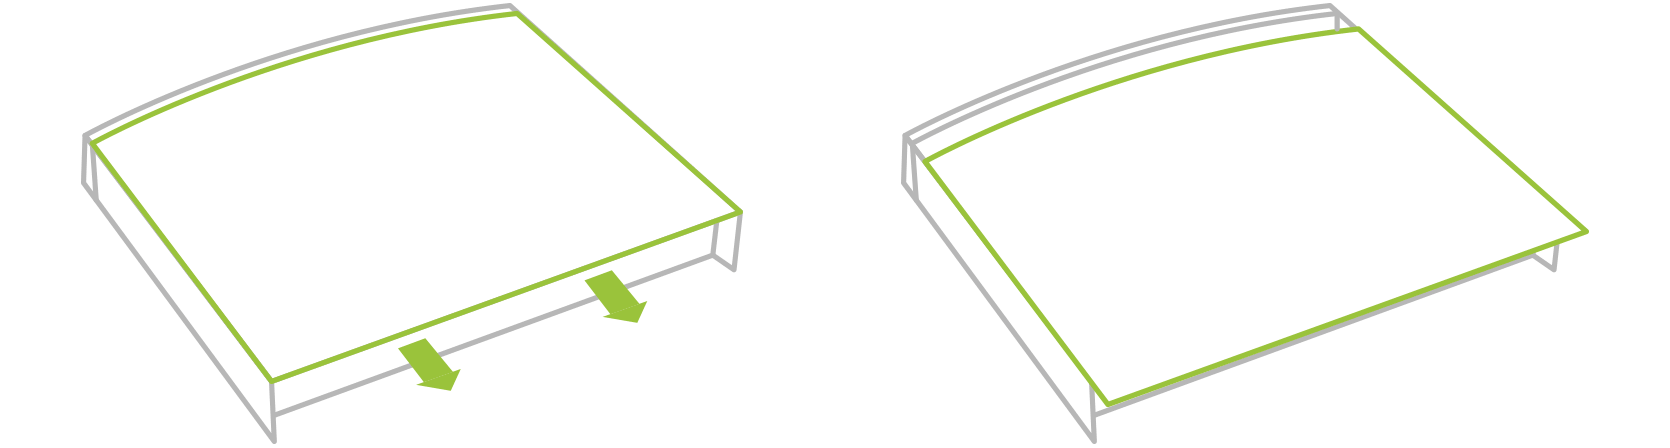
Lift off the top panel (Place it on a soft cloth to preserve the surface finish).
Use the included Torx T10H screwdriver to remove the 4 bolts on the first base plate.
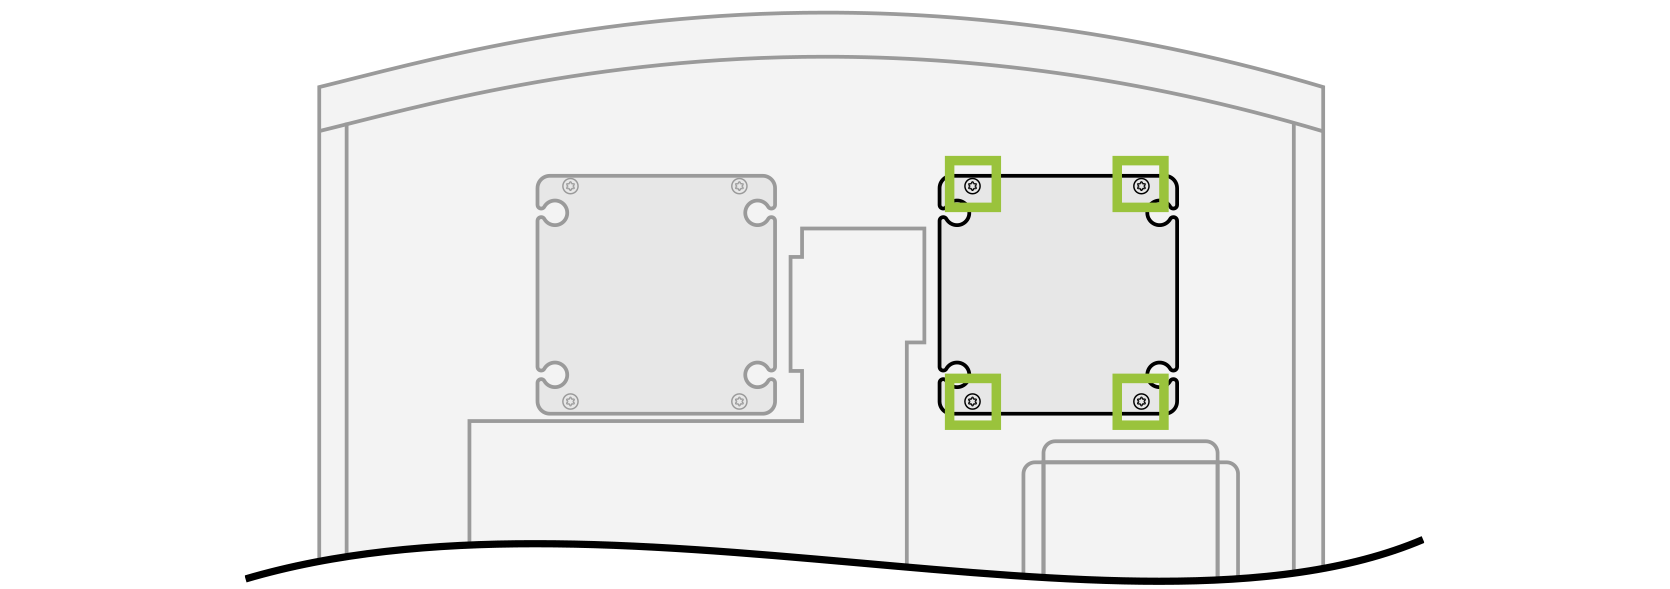
Remove the disk base plate
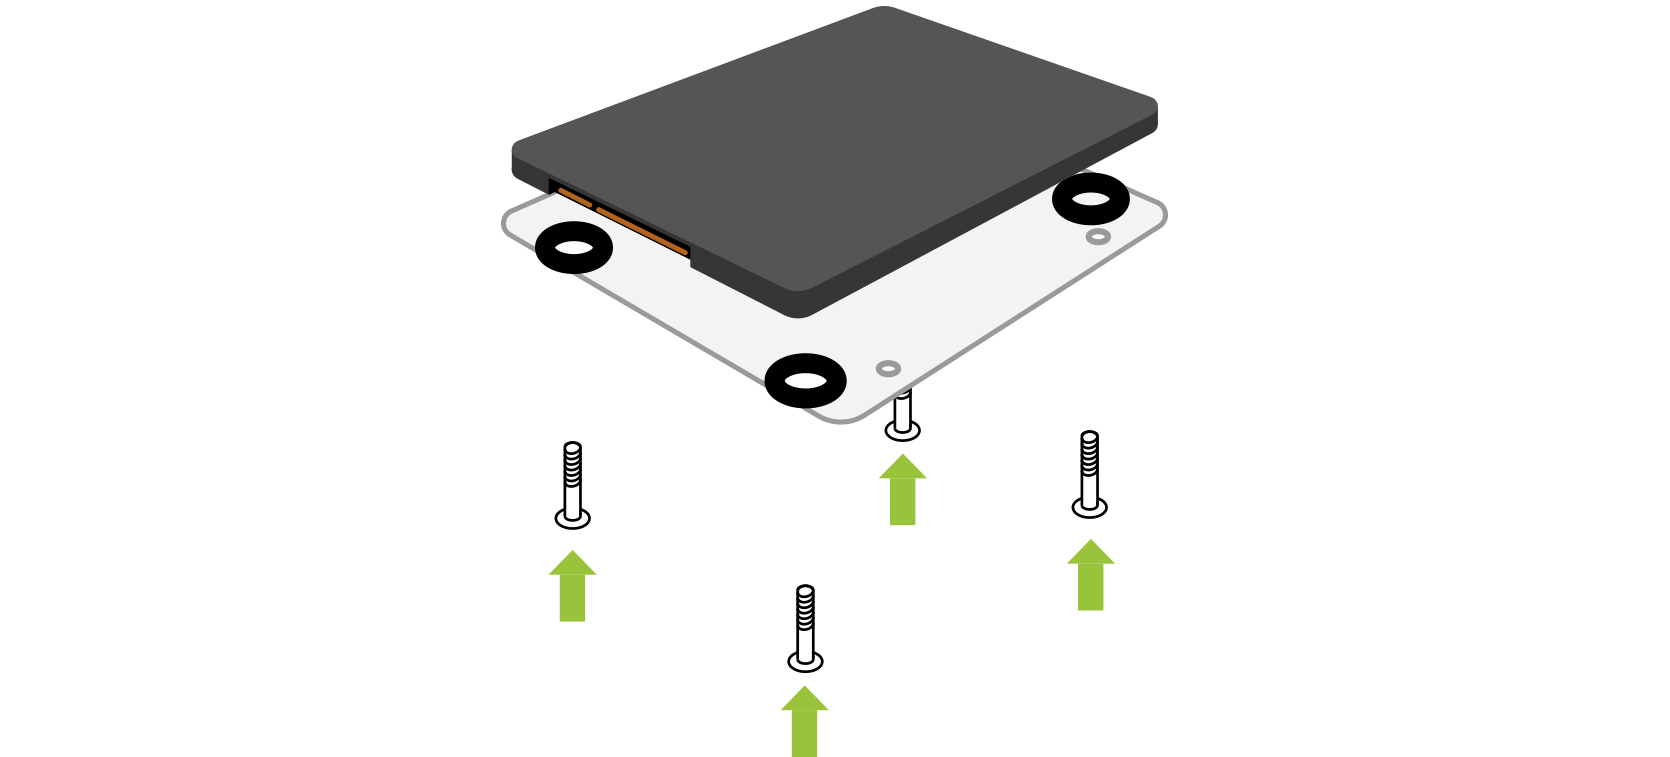
Slide the included rubber grommets into the base plate

Place the SSD on these grommets and use the included bolts to screw from the rear of the base plate into the rear of the disk.
Plug the combined base plate and disk firmly into the SATA connector on the LUMIN main circuit board until the holes line up between the base place and the chassis.
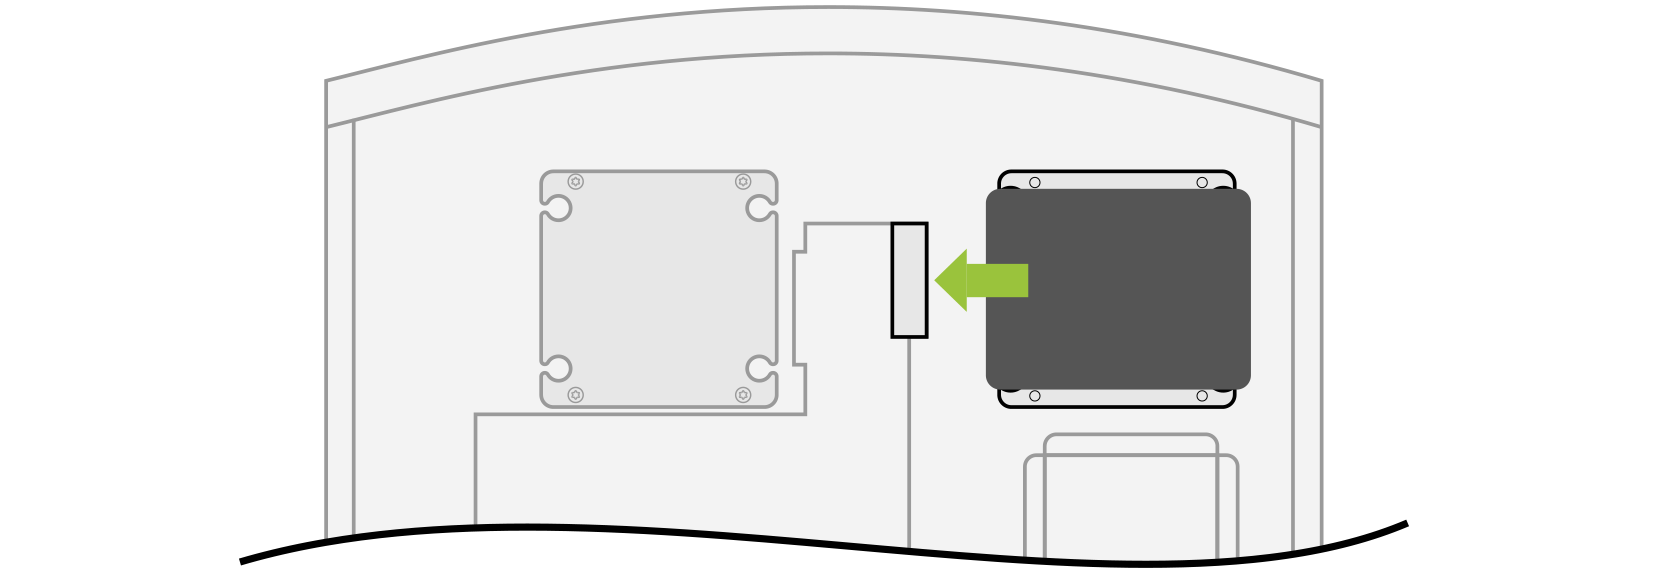
Secure the combined base plate and disk to the chassis by replacing the 4 screws removed in step 5.
Repeat steps 5-8 for the second disk.
Replace the LUMIN L2 top panel by placing it on top of the main chassis and sliding it forward so that it hooks under the front panel.
Use the included Torx T10H screwdriver to replace the 3 bolts at the rear of LUMIN L2, making sure they are tight and there is no rattle in the top panel.
Turn LUMIN L2 on. The Front Panel Display may show "HDD Error" if the new drives need formatting.

Press and hold the rear "Standby" button for 5 seconds. This will begin the formatting procedure for both drives.
When formatting is complete, LUMIN L2 is ready to use.